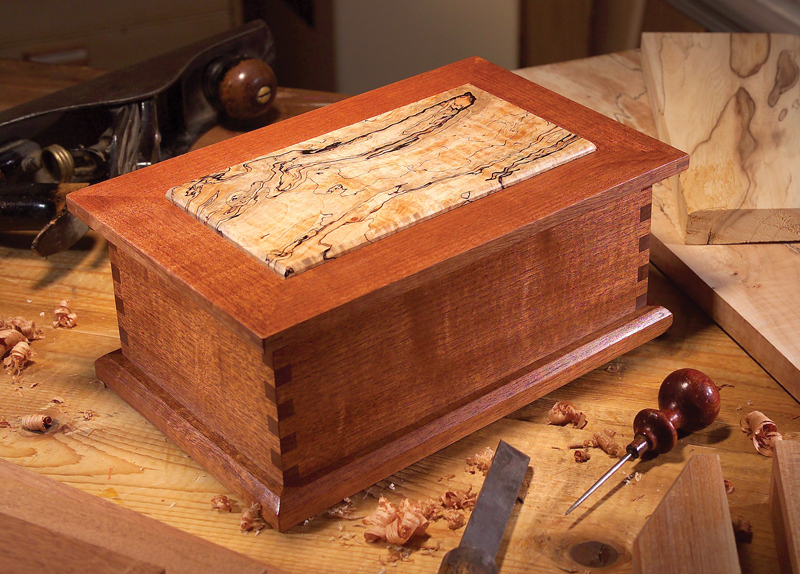
Crafting Chic Jewelry Boxes: Farmhouse & Coastal Styles
Elevate your jewelry storage with handcrafted boxes that embody the charm of farmhouse and coastal aesthetics. This guide will walk you through the process of building these stylish and functional pieces, offering tips and techniques to create personalized treasures.
Choosing Your Style: Farmhouse or Coastal
Before embarking on your project, visualize the overall look you want to achieve. Farmhouse style often features rustic charm and natural elements, while coastal style embodies the relaxed vibes of the seaside.
Farmhouse Style
Think distressed wood, natural textures like burlap and linen, and a touch of vintage charm. Consider using reclaimed wood or creating a weathered finish on your box.
Coastal Style
Embrace light and airy tones, breezy fabrics like cotton and linen, and nautical accents. Use whitewashed wood, seashells, or rope accents to capture the essence of the coast.
Essential Materials and Tools
Gather the necessary materials and tools to ensure a smooth crafting experience:
- Wood: Choose a sturdy wood like pine, cedar, or plywood.
- Wood glue: For bonding wood pieces.
- Wood screws: For secure assembly.
- Saw: To cut wood to size.
- Sandpaper: For smoothing surfaces and creating a distressed look.
- Measuring tape and pencil: For accurate dimensions.
- Paint: Choose colors that complement your chosen style.
- Paintbrushes: For applying paint and stain.
- Decorative elements: For adding personality, such as fabric, lace, buttons, or seashells.
Building the Jewelry Box: A Step-by-Step Guide
Now, let's bring your jewelry box to life:
1. Design and Cutting
Start by sketching out your box design on paper. Determine the desired dimensions for the base, lid, and sides. Cut the wood pieces using a saw, ensuring precision for a neat fit.
2. Assembling the Base
Apply wood glue to the edges of the base pieces and join them together. Secure the joints with wood screws for added strength.
3. Constructing the Sides
Cut four identical sides for your box, taking into account the height you desire. Attach them to the base using glue and screws, ensuring even spacing for a symmetrical look.
4. Creating the Lid
Follow the same process as the base, building a separate lid that fits snugly over the box. Add a hinge to the lid for smooth opening and closing.
5. Finishing Touches: Paint, Stain, and Decoration
Prepare the box for decoration by sanding all surfaces to create a smooth finish. Choose your desired paint or stain color and apply it evenly using a paintbrush.
For farmhouse style, you might consider distressing the paint by rubbing it with sandpaper in areas that would naturally show wear and tear. For a coastal look, use whitewash or a pale blue paint to evoke the tranquility of the sea.
Enhance the box with decorative elements that align with your chosen style. Consider adding burlap or linen fabric to the interior, embellishing the lid with lace or buttons for a farmhouse feel, or incorporating seashells, rope accents, or nautical-themed embellishments for a coastal touch.
Personalization and Enjoyment
With your handmade jewelry box complete, it's time to celebrate your craftsmanship. Fill it with your treasured jewelry and revel in the joy of creating a personalized piece that adds a touch of elegance to your home.
Don't be afraid to experiment with colors, textures, and decorative elements to create a box that reflects your individual style and personality. Let your imagination run wild and enjoy the process of bringing your design ideas to life.
Remember, a handmade jewelry box is a thoughtful gift for loved ones who appreciate handcrafted treasures. Share your passion for crafting by gifting a piece that exudes charm and personalization.


0 comments:
Post a Comment
Note: Only a member of this blog may post a comment.